Solid Masonry Contruction
Solid Masonry Construction: A Time-Tested Building Method That Stands the Test of Time Solid masonry construction is one of the oldest and most reliable building techniques in architectural history. From …
Explore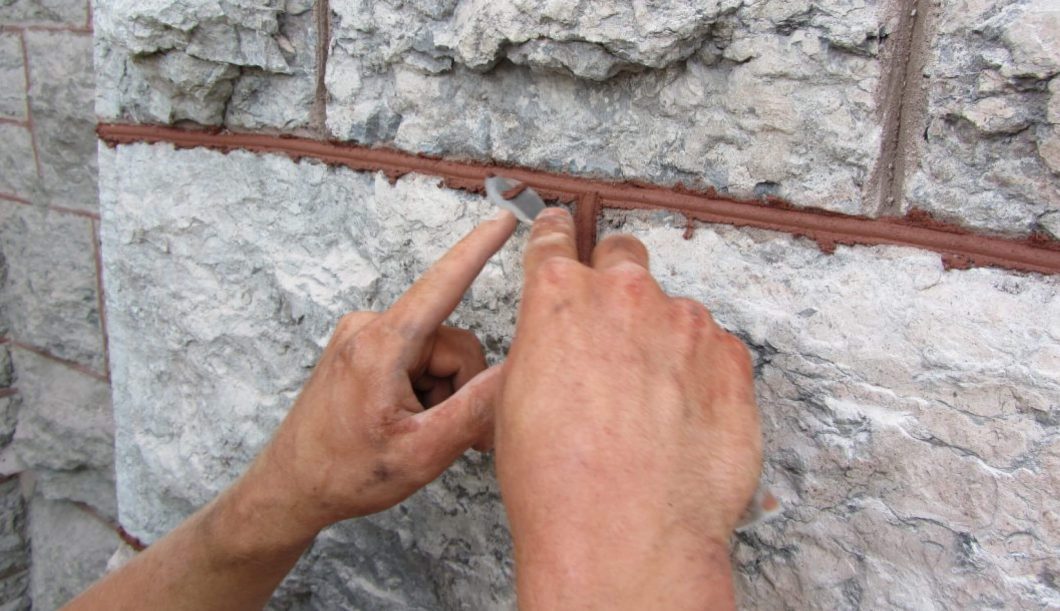
Repointing is one of the most critical—and often overlooked—maintenance techniques in masonry restoration. Whether you’re working with brick, stone, or concrete block, proper repointing extends the life of a wall, prevents water infiltration, and protects both structural and aesthetic integrity.
If you’ve noticed crumbling mortar joints or visible gaps in your masonry, it’s likely time to consider repointing.
Repointing is the process of removing deteriorated mortar from between masonry units—such as bricks or stones—and replacing it with fresh, compatible mortar. While it might sound simple, repointing is a skilled craft that requires an understanding of historic materials, structural mechanics, and aesthetic details.
The main goals of repointing are to:
Restore the wall’s structural integrity
Prevent moisture from seeping in
Maintain the visual harmony of the masonry
Over time, exposure to moisture, freeze-thaw cycles, and settling causes mortar to crack, erode, or fall out completely. When joints begin to fail, the masonry units themselves become more vulnerable to damage.
But repointing is more than patching cracks. If done improperly—with incompatible mortar or incorrect joint preparation—it can cause irreversible damage to historic structures. That’s why it’s essential to follow best practices and work with professionals who understand both old and modern masonry.
Here’s a breakdown of how professional repointing is performed:
The first step is carefully removing the old, deteriorated mortar. This should be done to a minimum depth of 1 inch (25mm) or until sound mortar is reached.
The mortar joints must be cut back squarely to create a strong mechanical bond for the new mortar.
For deeper joints, a two-stage repointing process is used. The first stage is called back pointing, where mortar is placed into the joint but stopped about 1 inch (25mm) short of the surface. This layer is allowed to partially cure before proceeding.
Once the backfill has set, front pointing completes the joint by filling it flush to the face of the masonry unit. This careful layering helps avoid shrinkage cracks, improves long-term performance, and supports colour consistency across the joint.
Matching the mortar composition, strength, colour, and texture to the original is essential—especially on historic or heritage buildings. Using mortar that’s too strong (such as modern Portland cement on soft lime mortars) can actually damage the masonry units by forcing stress into the brick or stone rather than the joint.
Experienced masons evaluate the existing mortar and choose a blend that respects the age, material, and function of the original structure.
Brick Repointing: Common in heritage homes and chimneys where mortar erosion is visible.
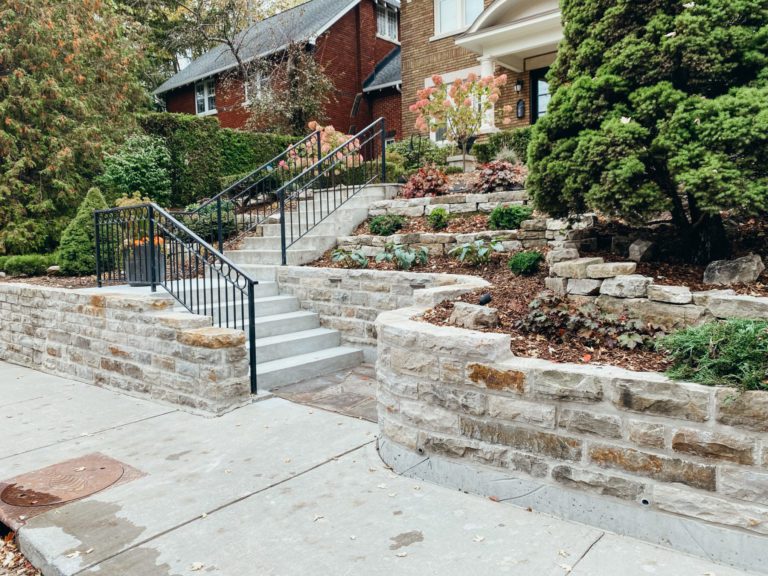
Stone Repointing: Often used in older stone farmhouses or institutional buildings.
Block Wall Repointing: Ideal for foundation walls, retaining walls, and basements where moisture penetration is a risk.
Signs that your wall may need repointing include:
Gaps between bricks or stones
Crumbling or powdery mortar
Water staining or leaks
Vegetation growing in joints
Masonry units becoming loose or dislodged
If caught early, repointing can prevent costly structural damage and preserve the original materials for decades to come.
Repointing is both an art and a science—one that Solid Masonry takes seriously. Whether you’re maintaining a historic property or reinforcing a modern structure, our skilled masons ensure the job is done with precision, care, and long-lasting results.
Contact us today to schedule a site evaluation or to learn more about our repointing services.
Solid Masonry Construction: A Time-Tested Building Method That Stands the Test of Time Solid masonry construction is one of the oldest and most reliable building techniques in architectural history. From …
Explore
The Art of Custom Fireplaces: Where Function Meets Style A fireplace is more than just a way to warm a room — it’s a statement piece that sets the tone …
Explore
Dry stone walling is or dry laid stone work is stone construction without the use of mortar. Dry stone work is usually used for fences and retaining walls but …
Explore